Vehicle lighting influences visibility, communication, driver comfort, and crash prevention after dark. Standard equipment may perform adequately when new. Yet worn bulbs, hazed covers, damaged reflectors, or poor alignment gradually reduce useful illumination. A considered upgrade begins with diagnosis rather than appearance. By checking fitment, beam control, wiring condition, heat management, and road requirements, owners can improve night-time vision without creating glare for approaching traffic or reducing reliability.
Start With the Vehicle
The correct starting point is the vehicle’s model, production year, trim level, and driving pattern. Subaru owners, for example, can compare model-specific Subaru lights for WRX, BRZ, Forester, and Impreza applications. Each generation may use different housings, connectors, bulb formats, mounting points, or control modules. Confirming those details before purchase limits installation problems and helps preserve the original fit, function, and appearance.
Audit Existing Performance
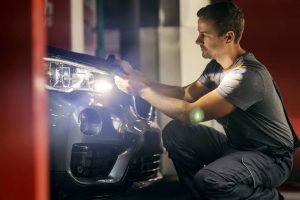
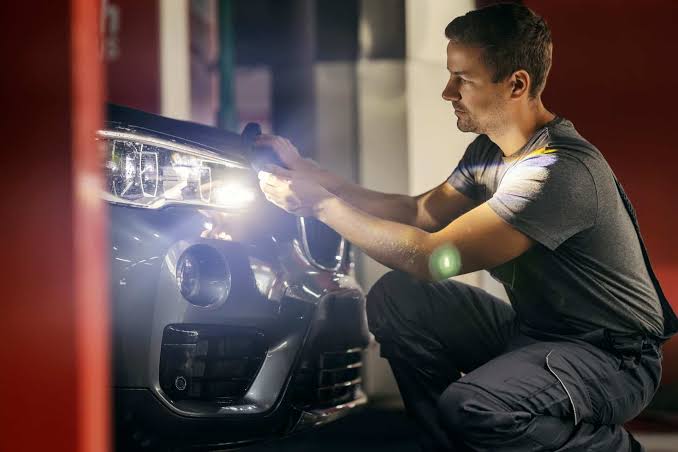
An inspection should identify the actual weakness before replacement begins. Check headlamp intensity, indicator timing, brake-lamp visibility, reverse illumination, and fog-lamp operation. Clouded lenses scatter the beam, while tired reflectors can reduce output despite fresh bulbs. A voltage test at the socket may reveal resistance, poor grounding, or charging faults. This step separates a lighting deficiency from an underlying electrical problem.
Choose the Right Upgrade
The best component depends on the driving issue. Headlamp replacements improve forward recognition, while fog lamps can define road edges during rain, spray, or mist. Brighter reverse lamps assist manoeuvring in unlit areas, and sharper indicators improve communication at junctions. Interior lighting changes cabin appearance but has little effect on road safety. Prioritising visibility and signalling produces greater practical value than choosing parts solely for style.
Match Light Colour and Output
Colour temperature changes contrast, reflections, and perceived brightness. Very blue output can create glare on wet asphalt, even when it appears powerful from the driver’s seat. Neutral white light generally provides clearer detail across ordinary conditions. Excessive intensity may also disturb approaching motorists. Product specifications should include measured output, beam distribution, thermal control, and compliance markings, rather than relying on colour descriptions alone.
Protect the Beam Pattern
Useful illumination depends on where the beam lands, not simply on its advertised strength. An incorrectly seated lamp can leave shadows ahead while sending concentrated light into oncoming vehicles. After fitting, park on level ground with correct tyre pressure and a normal load. Compare both beams against a wall, then use approved equipment for final adjustment when accuracy matters.
Check Electrical Compatibility
Many modern vehicles monitor lamp circuits for resistance and fault conditions. An unsuitable replacement can cause flickering, warning messages, reduced power, or rapid failure. Confirm connector design, polarity, current demand, resistor needs, and control-module compatibility before ordering. Adapters may solve a fitment issue, although poorly placed resistors generate heat. Sealed connections, correct fusing, and protected cable routes preserve circuit safety.
Plan the Installation
Good preparation reduces damage to trim, housings, and wiring. Use clean tools, insulated gloves, suitable cable ties, electrical tape, and the vehicle service information. Disconnecting the battery may be necessary near airbag circuits or sensitive electronic modules. Cables should remain clear of exhaust heat, suspension movement, sharp edges, and water paths. Before closing the housing, test every function, including indicators and warning signals.
Follow Road Rules
Public-road equipment must meet the applicable state or territory requirements. Regulations can cover lamp colour, mounting position, beam direction, daytime running lamps, fog-lamp use, and visible indicator area. A product suitable for display purposes may fail inspection if it produces glare or lacks required approval markings. Owners should confirm current standards before installation and seek qualified advice where certification or inspection is necessary.
Maintain the System
Regular maintenance protects the improvement achieved through fitting new equipment. Clean lenses with an automotive-safe product, then inspect any housing that develops condensation. Replace paired bulbs when brightness changes noticeably, because uneven output can affect distance judgement. Examine mounts and harnesses after heavy rain, rough tracks, or minor impacts. Keeping spare fuses and recording component details makes later diagnosis quicker for owners and technicians.
Conclusion
A successful lighting upgrade is measured by usable illumination, accurate signalling, dependable electrical operation, and legal compliance. Owners who diagnose weak areas, confirm fitment, control the beam, protect wiring, and verify alignment gain safer performance than those who chase brightness alone. Cleaning, inspection, and timely repairs preserve that result. With sound components and careful installation, our vehicles can provide clearer information, stronger night vision, and consistent performance throughout the year.